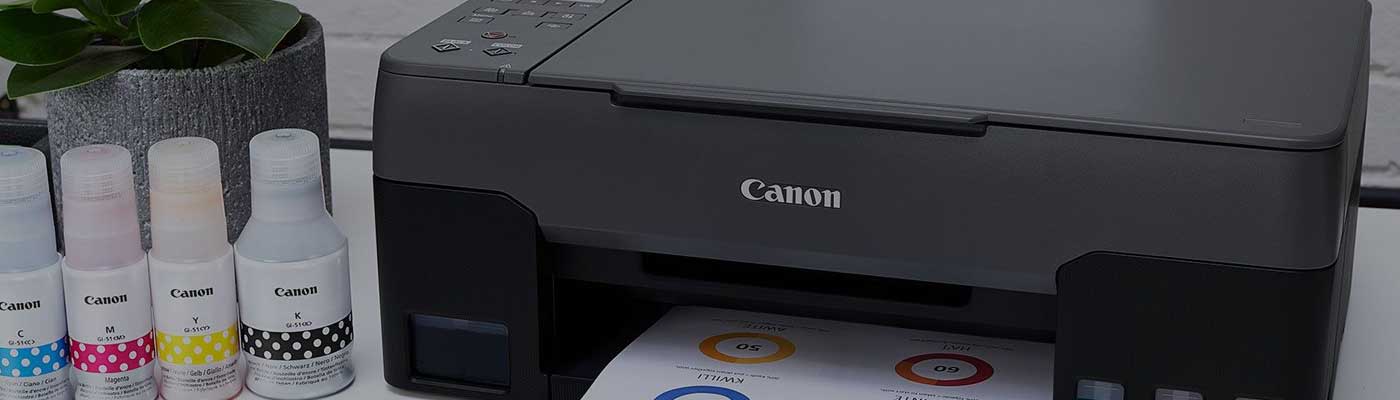
Using a Photocopier – Photocopiers can be considered an inherent part of maximum offices. If you have yet to come across this equipment, it can be challenging for you because multiple functions and buttons are available. Similar to a digital printer, it can be challenging to understand the functions of every button and switch. After you have done the photocopy process once, you can be a professional easily.
Every photocopier machine is different from others, and professionals recommend going through the instruction manual before starting to scan, print or copy anything. To make things easier for you, this article addresses the tips and guides on using a photocopier machine and helps you use the common machine in the office.
You will know how to use a photocopier machine if you are a photocopier supplier. But, if you are new in this field, you may need to learn how to use the machine. It is why you need to follow the subsequent steps given below.
You first need to ensure that your power cable is accurately plugged inside and then proceed by turning on the photocopier machine by clicking the power button. Usually, you will find the power button on the front side of the equipment, but sometimes it may be situated on the other side. A power-saving mode is available in a maximum of machines these days that you need to remember. Always evaluate the paper tray that you will discover below the machine and ensure to fill it with paper if it is empty.
The next step is allowing the machine to warm up. If your machine is heavy and large and comes with multiple components, it will require some time to warm up before working accurately. You can follow a similar process if you have an old machine. Small and new machines can quickly warm up, but you need to wait 2 minutes to make the process ready.
Putting Documents on the machine is the next step you need to follow by lifting the covering material of the machine to show the surface below. You can put your document on the glass surface, ensuring that you are turning it upside down. You can follow the instruction manual and read the guidelines that will help you put the document in the correct order. Make sure to close the lid after the paper placement is done.
The process differs somewhat from the digital printer, where you must choose the option.
The next step involves picking the preferred colour. Whether you want to colour print or keep it in grayscale, you need to choose the button and fix the settings. Remember that not all machines will have this option, and you need to choose the preference and save it for the upcoming copies as well.
The final thing you will require is to pick the paper dimension. The standard paper size is A4 paper, and if your machine does not come with multiple trays, you can choose the dimension of the paper with the help of the settings menu and feed the paper into the paper tray. If you are a photocopier supplier, choosing a machine with multiple trays of paper is wise as it can make your job easier.
The ultimate step is hitting the button for copying and starting to print all the copies. You will find this button on the top portion of your machine, and you need to click it to print it.
Are you looking forward to getting yourself a new machine or printer for your workspace? You have come across the right piece of information because whether you are a large company or a startup organisation, the tips mentioned above for the photocopy process will be helpful for you if you like to do things manually.
You will also find multiple other pieces of advice and information on photocopiers and printers from experts. Follow the expert recommendations, as they can help you with the best systems and equipment, management, and usage. Are you ready to utilise your next photocopier machine in your office?
 Login
Login New User?
 +971 4 2588990